Installing a metal roof is a significant investment in your home’s durability, energy efficiency, and aesthetic appeal. At JSC Roofing, we understand the importance of a flawless installation process that ensures your metal roof provides lasting protection and enhances your property’s value. In this comprehensive guide, we’ll walk you through the essential steps of a successful metal roofing installation, showcasing our expertise and commitment to excellence.
Step 1: Preparing for Installation
Before diving into the installation process, thorough preparation is essential. This includes obtaining any necessary permits, ensuring your roof deck is in good condition, and taking accurate measurements to determine the amount of metal roofing material required.
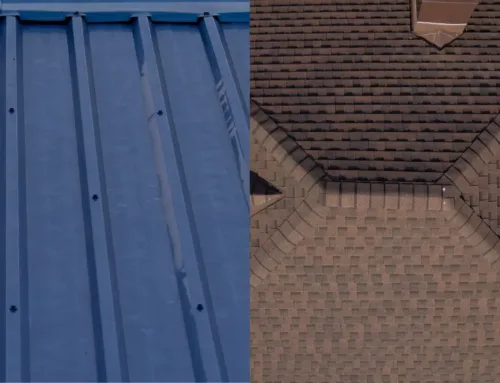
Step 2: Choosing the Right Material
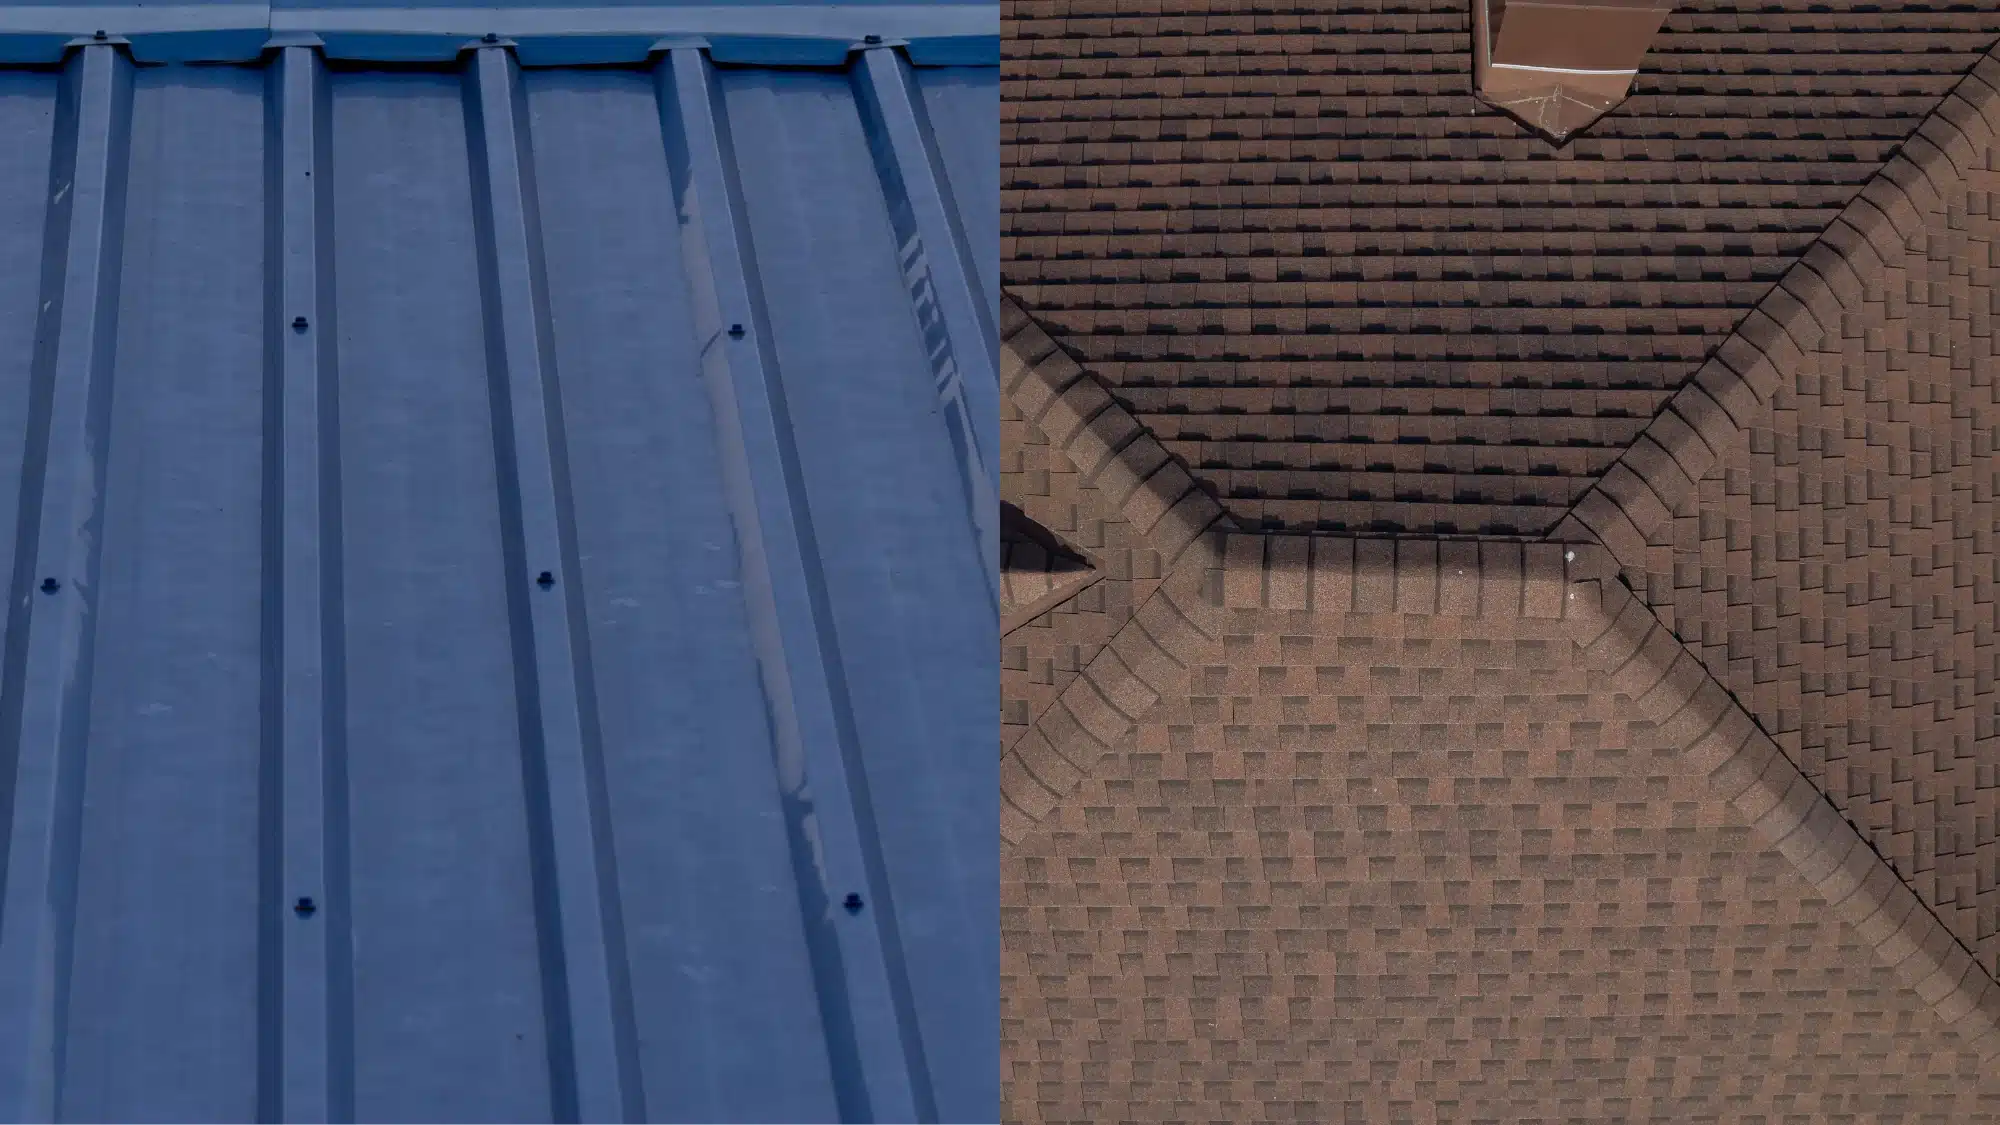
Selecting the right type of metal roofing material is crucial. Options include aluminum, steel, copper, and zinc, each offering unique advantages in terms of durability, aesthetics, and cost. Our team at JSC Roofing can guide you in choosing the material that best suits your home’s architectural style and your budget.
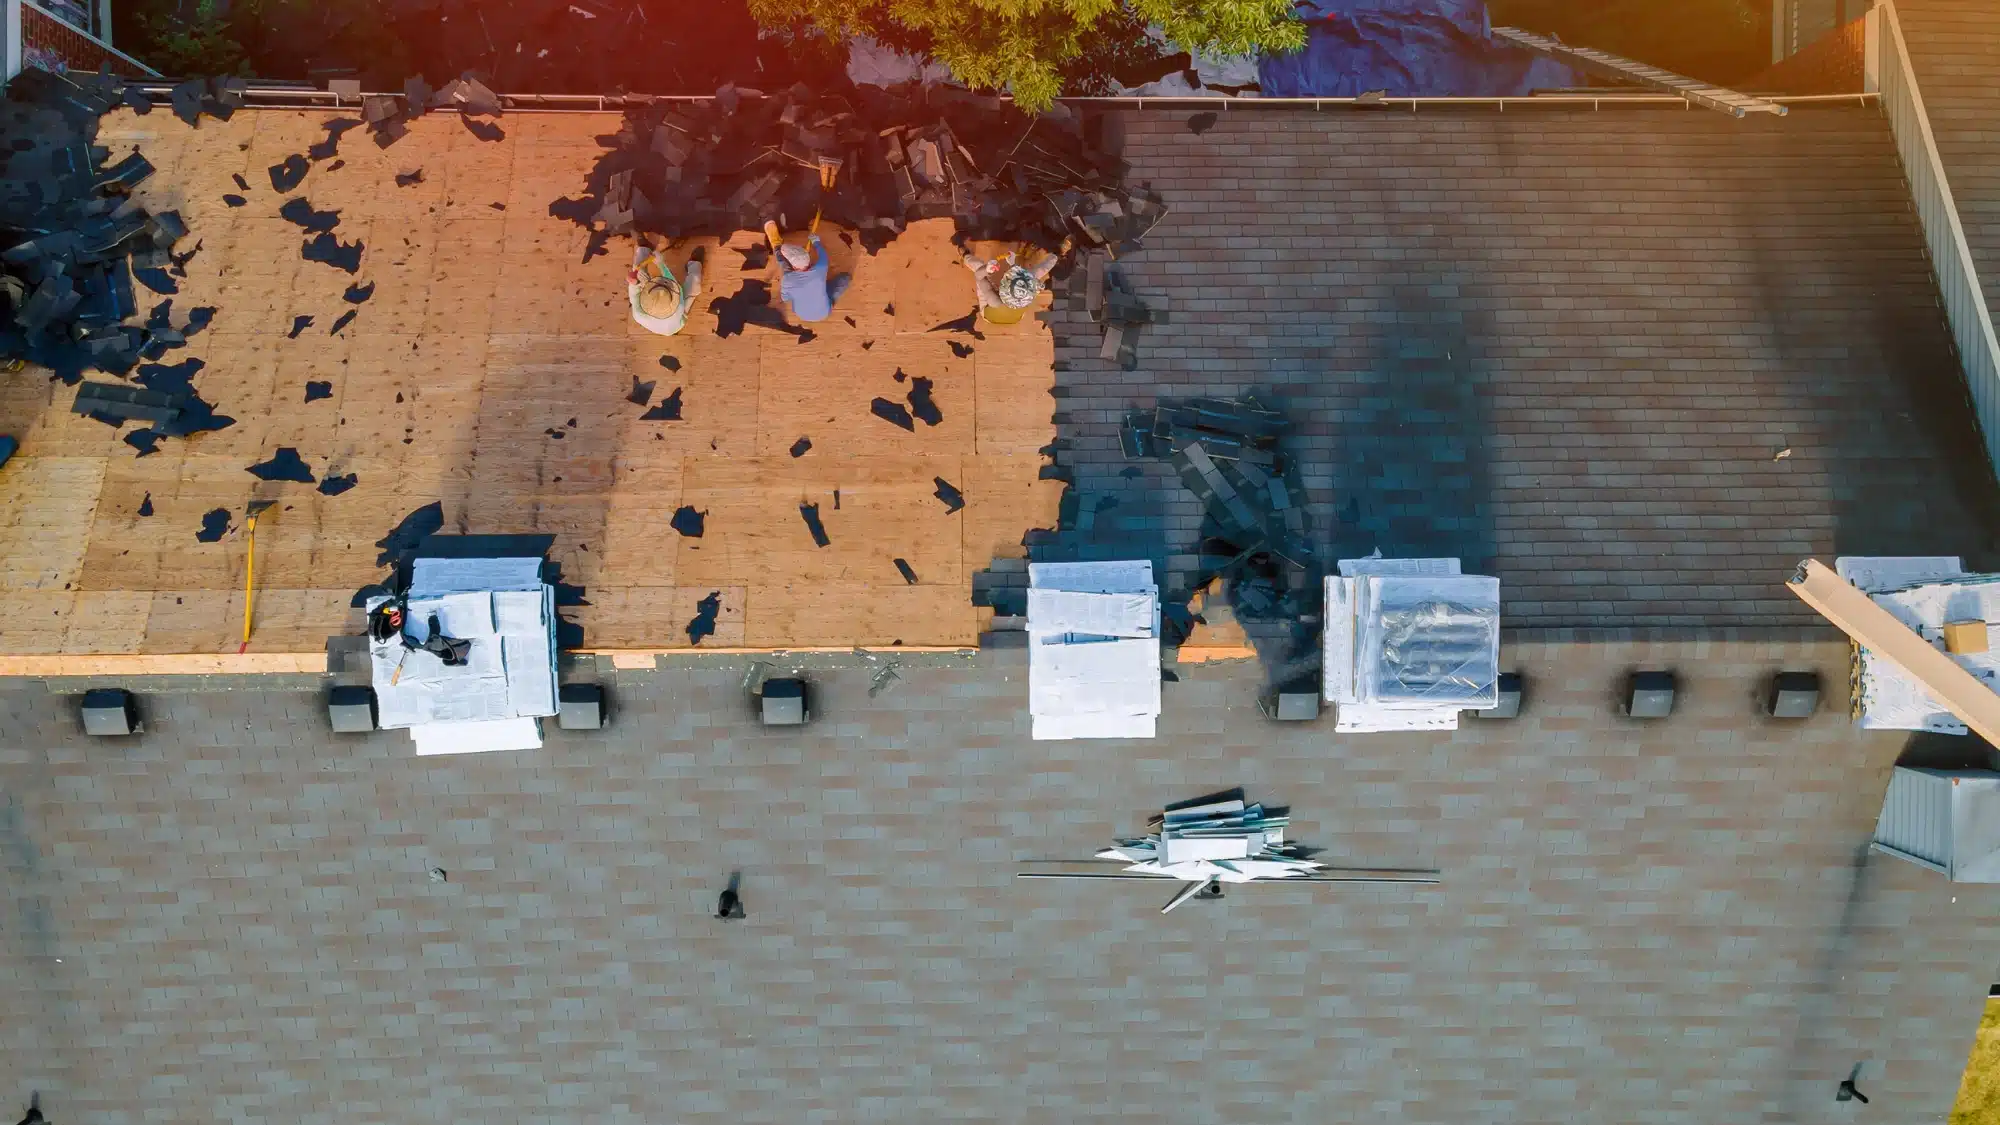
Step 3: Removing Old Roofing
In most cases, the old roofing material needs to be removed before installing a metal roof. This ensures a smooth and secure foundation for the new roof. Proper disposal of the old material is also part of this step.
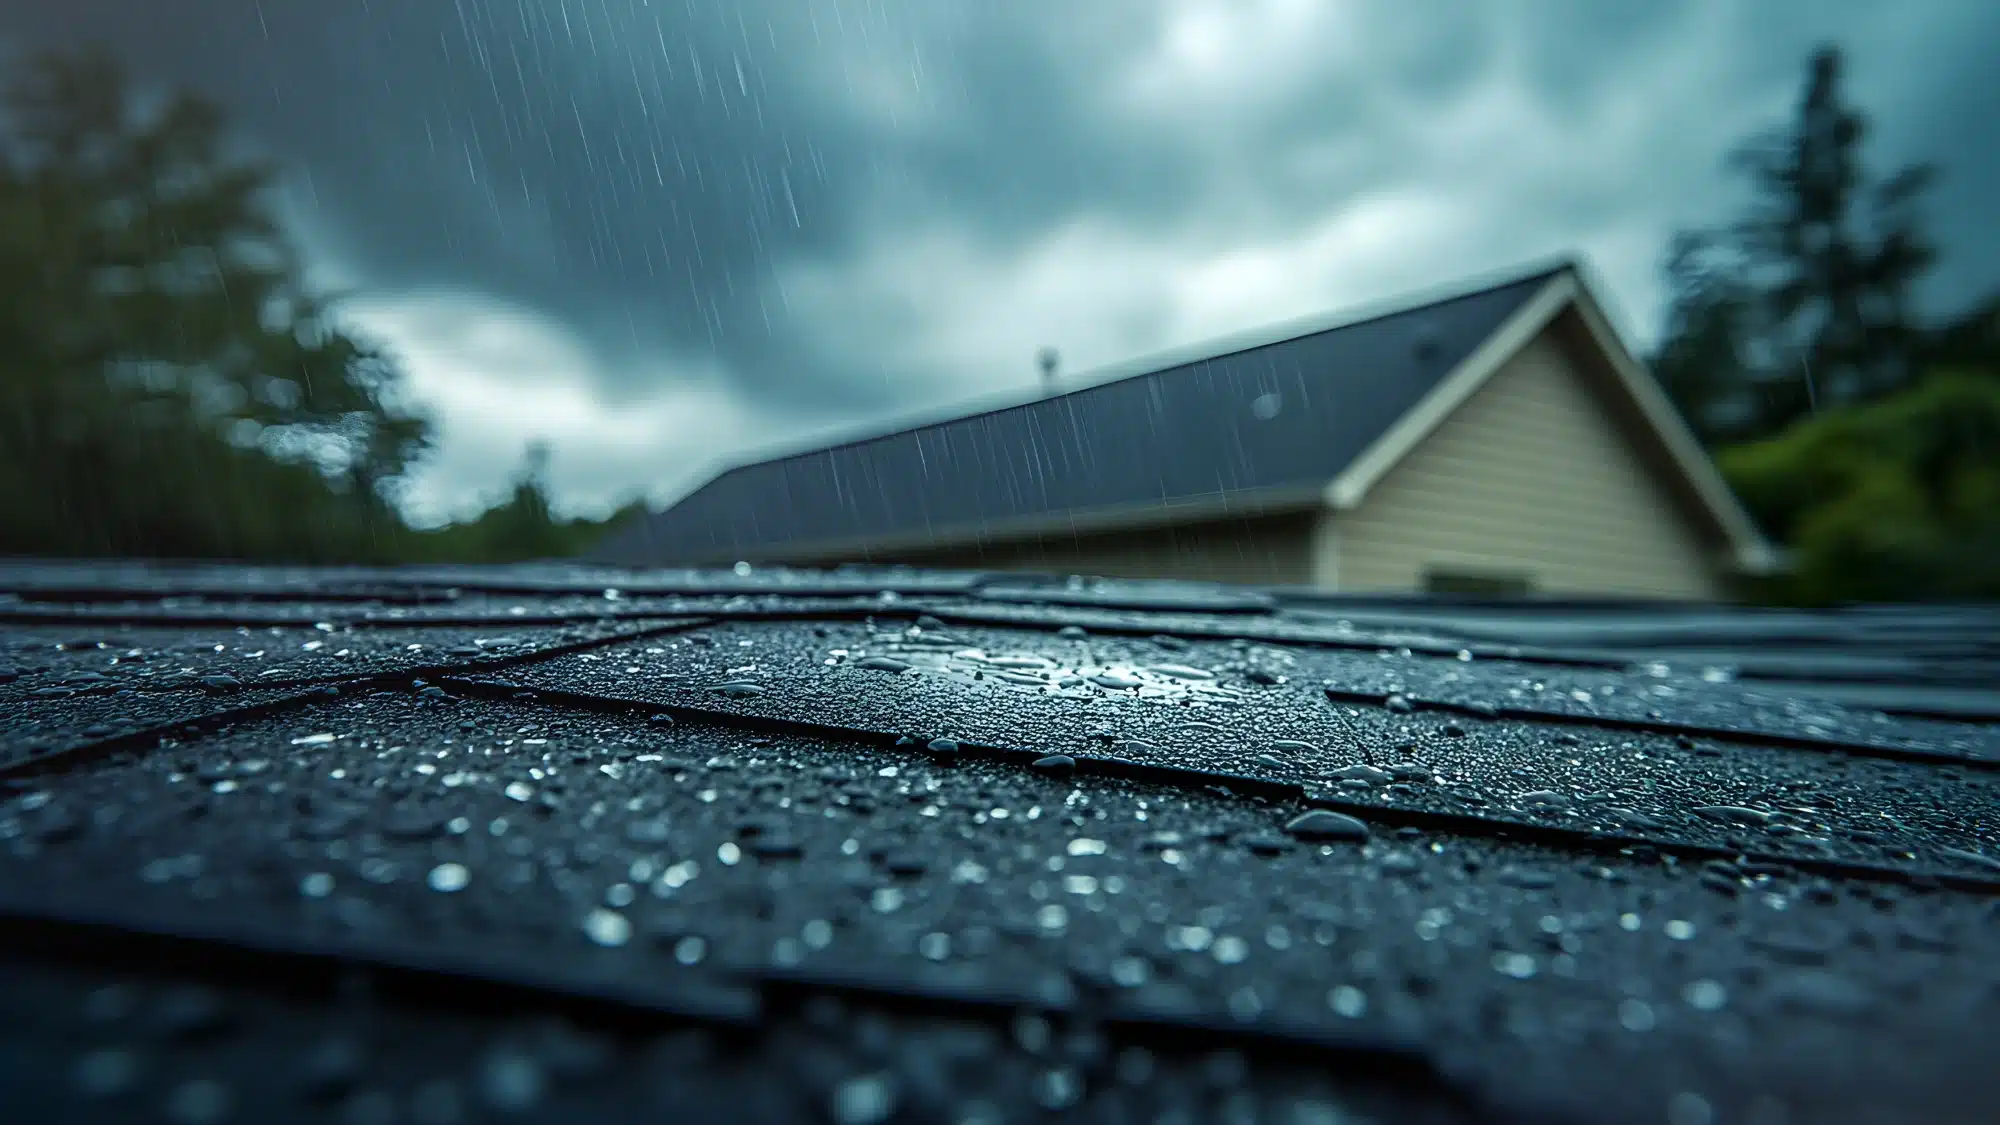
Step 4: Installing Underlayment
Underlayment is a vital layer that provides an additional barrier against moisture and prevents water from seeping into your home. High-quality synthetic underlayment is often used in metal roofing installations for superior protection.
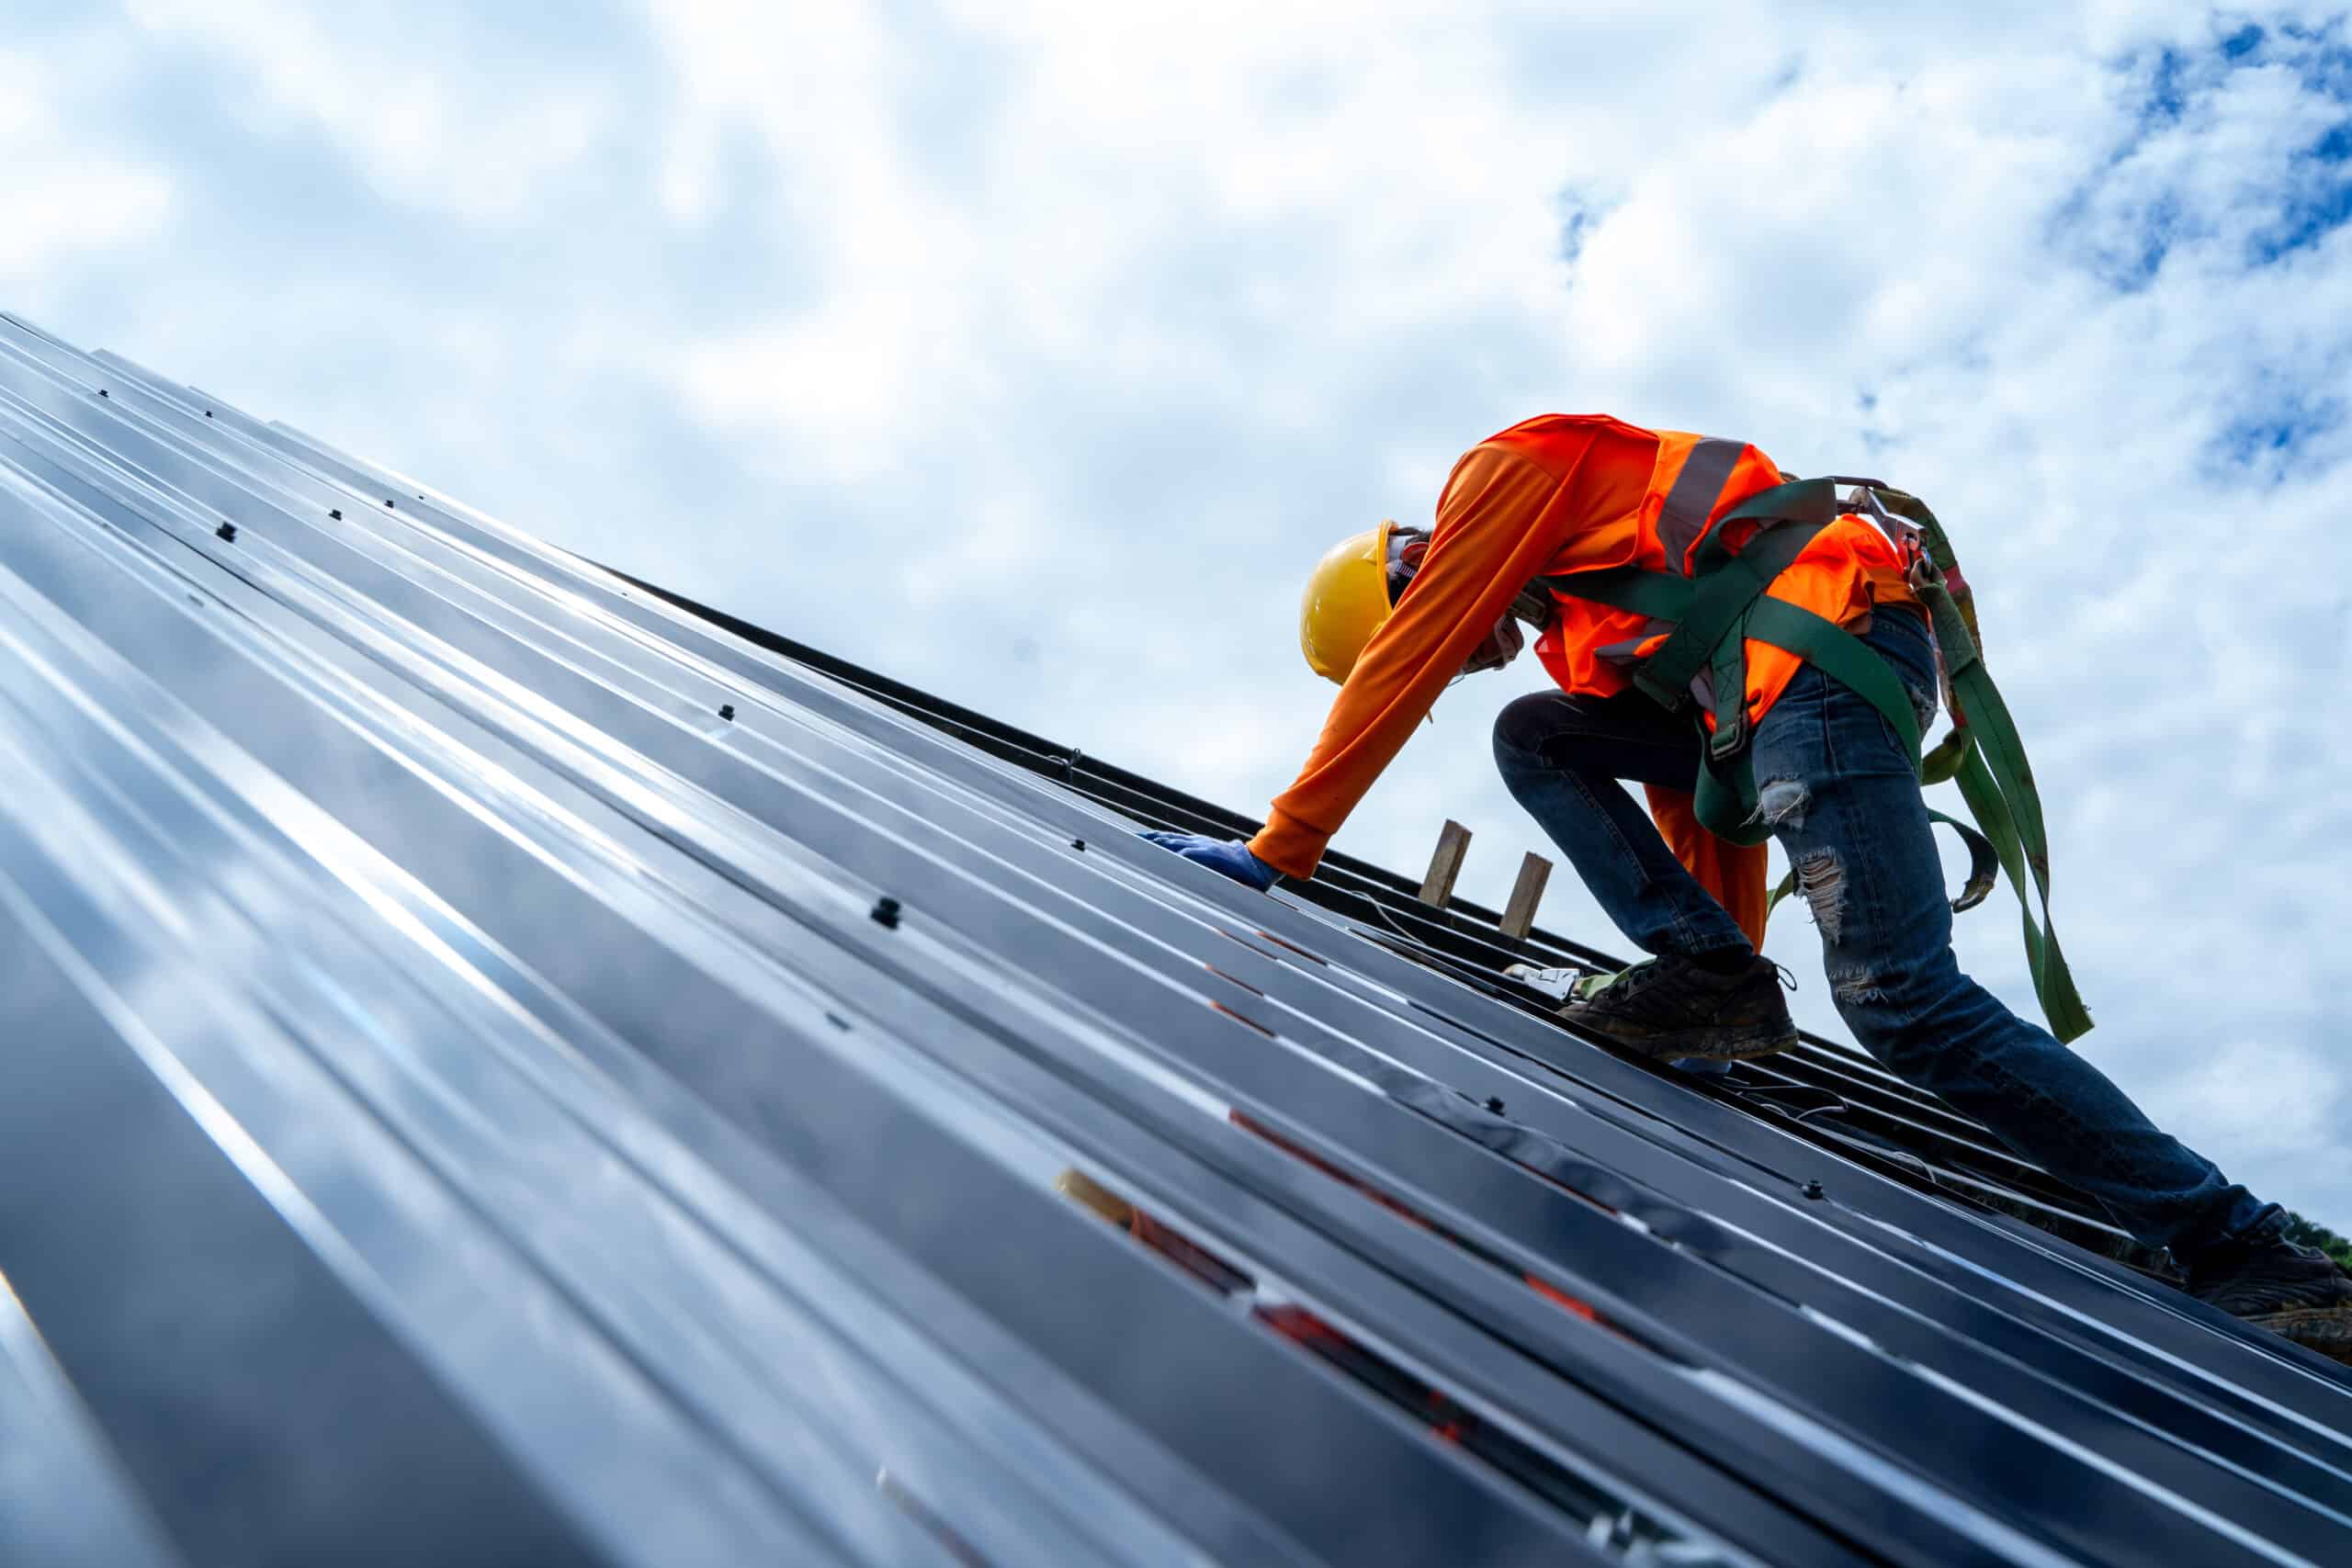
Step 5: Installing Metal Panels
Properly installing metal panels requires precision and attention to detail. Our experienced roofing professionals ensure that panels are aligned correctly, fastened securely, and properly sealed to prevent leaks. Various installation techniques, such as standing seam and exposed fastener systems, can be used based on the type of metal roofing you’ve chosen.
Step 6: Flashing and Trim
Flashing and trim play a crucial role in preventing water infiltration at vulnerable areas, such as roof edges, valleys, and intersections with other structures like chimneys or skylights. Properly installed flashing and trim ensure your roof’s integrity and longevity.
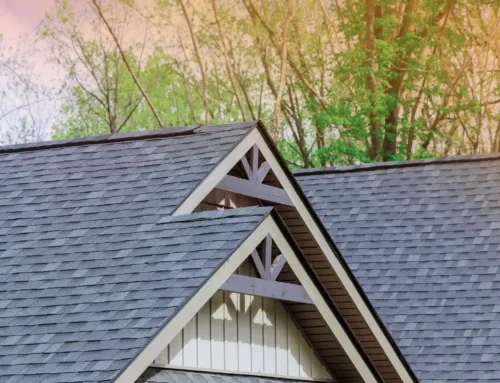
Step 7: Ridge Cap Installation
Ridge caps provide the finishing touch to your metal roof, creating a clean and polished appearance while protecting the roof’s peak from the elements. Installing ridge caps requires precision to ensure proper fit and seal.
Step 8: Inspection and Quality Assurance
After the metal roofing installation is complete, a thorough inspection is conducted to ensure that all components are properly installed and sealed. Our team at JSC Roofing takes pride in our commitment to delivering exceptional craftsmanship.
Step 9: Clean-Up and Final Steps
Once the installation and inspection are complete, our team performs a thorough clean-up of the work area, leaving your property in pristine condition. We’ll also provide you with information on how to maintain and care for your new metal roof to ensure its longevity.
Experience the JSC Roofing Difference
At JSC Roofing, we view metal roofing installation as both an art and a science. Our skilled professionals bring years of experience and expertise to every project, ensuring that your metal roof is installed with precision and care. From selecting the right material to the final quality check, we’re dedicated to exceeding your expectations.
Ready to transform your home with a durable and beautiful metal roof? Contact JSC Roofing today to schedule a consultation. Trust our experts to guide you through every step of the metal roofing installation process, providing you with a roof that stands the test of time and enhances your property’s value.


